Installing a toilet in the basement comes with its own set of challenges, primarily due to plumbing issues. When it comes to waste removal in the basement, gravity, which typically aids in upstairs waste disposal, becomes a hindrance for below-ground waste flow. Thankfully, there are several basement bathroom plumbing solutions suitable for DIY enthusiasts.
Transforming an unused basement space into a functional bathroom can significantly increase your home’s value and usability. However, one of the most daunting tasks homeowners face when considering such a renovation is how to efficiently set up a upflush toilet pump below grade.
Let’s dive deeper into some expert tips and insights to successfully set up a macerating toilet in your basement.
Why Consider a Toilet in Your Basement?
There’s undeniable convenience in having a bathroom in the basement. Whether you’re setting up a game room, a home theater, or just want the luxury of an extra restroom, having facilities on hand makes the basement that much more functional. However, due to the basement’s position below the main sewage line, traditional gravity toilets might not work effectively. That’s where specific pump technologies come into play.
What is A Macerating Toilet Pump?
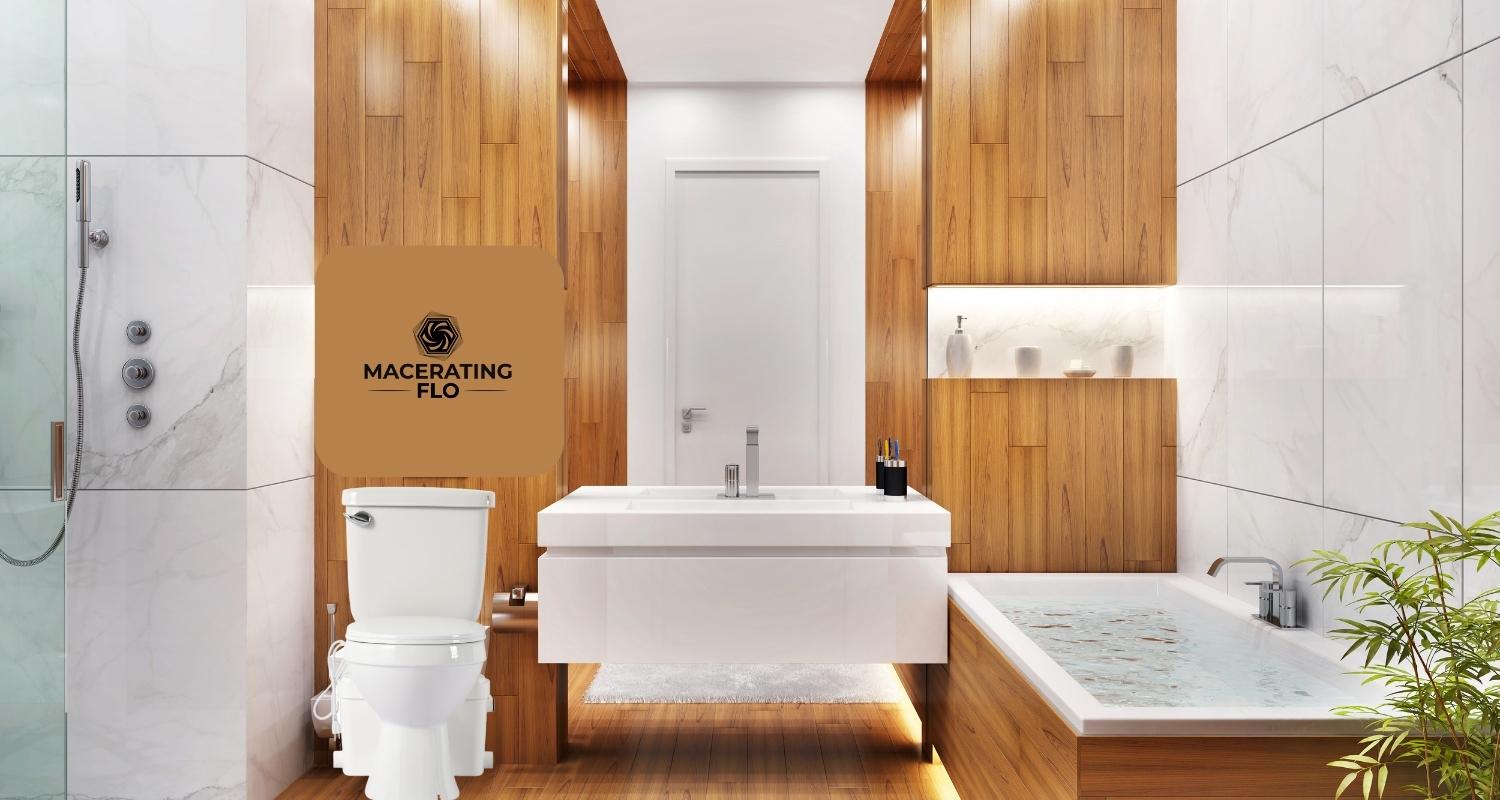
A macerating toilet pump is designed to transport waste from toilets situated below the primary sewer line, such as in basements. It functions by pulverizing waste and then elevating it to the main sewer line. Such pumps are commonly used in areas where setting up a regular gravity-powered toilet is challenging. Derived from the word “macerate”, which means “to soften”, these toilets don’t rely on gravity. Instead, MaceratingFlo toilets employ a robust macerator pump to transform waste into a fine slurry, making them perfect for places where conventional plumbing setups are impractical.
Tips for Setting a Upflush Toilet System in the Basement
While the thought of installing a toilet in the basement is appealing, the process isn’t as straightforward as installing one upstairs. Basements often sit below the home’s sewer line or septic tank. Therefore, waste needs an extra “push” to reach the main sewage system, which can be a significant challenge. Here are what you need to do before choosing a upflush toilet into your basement.
1. Plan Your Space With Precision
The first step to any successful renovation project is adequate planning. Before taking a hammer to your basement floor or walls, spend some time understanding your local building codes. These rules are there to ensure safety and functionality.
Furthermore, examine the current placement of your basement’s plumbing. Knowing where everything is will help you determine the best spots for the new fixtures. Finally, consider the drainage system for the upcoming bathroom. How will the tub, sink, and toilet drain? It’s crucial to map everything out beforehand to avoid any future headaches.
2. The Wonders of an Upflush Toilet
If you’ve never heard of an upflush toilet, now’s the time to familiarize yourself with this basement-friendly marvel. As the name suggests, an upflush toilet system works by pumping waste upwards, which is contrary to the usual gravity-fed systems in typical bathrooms. This unique mechanism enables waste and water from your basement bathroom to be efficiently transported up and out, connecting seamlessly with your home’s primary drain line. This makes it a highly recommended option for below-grade bathrooms.
3. Embrace the Power of a Macerator Pump
Another plumbing gem for basement bathrooms is the macerator pump. This device not only pumps waste out but first grinds solid waste into minute particles, ensuring a smoother and more efficient waste flow. By reducing the size of waste particles, you minimize the chances of clogs and backups, ensuring a long-lasting and hassle-free plumbing system.
4. When in Doubt, Call in the Pros
While many homeowners have successfully set up basement bathrooms on their own, it’s essential to recognize one’s limits. DIY projects can be immensely rewarding, but they also come with their own set of challenges, especially when plumbing is involved. If you find yourself feeling overwhelmed or unsure about any aspect of the installation process, remember that it’s always okay to seek professional help.
In fact, having a professional plumber oversee or assist in your project can offer peace of mind. They bring a wealth of knowledge, ensuring that the installation not only meets local building codes but is also efficient and durable.
The Installation Process
For homeowners familiar with basic plumbing, installing a toilet pump in the basement can be a DIY project. However, if you’re a novice, it might be best to hire a professional. Here’s a brief overview:
- Selecting the right spot: Choose a location close to the main drain line to make the installation smoother.
- Setting up the pump: Follow the manufacturer’s guidelines. Secure the pump and connect it to the toilet and the main sewage line.
- Ensuring a proper seal: It’s essential to ensure that all connections are sealed properly to prevent leaks and odors.
Maintenance and Care
To ensure longevity, both macerating toilets and separate toilet pumps require regular maintenance. Here are some general care tips:
Avoid flushing non-biodegradable items: Products like wipes, feminine hygiene products, and thick paper can damage the pump or blades.
Clean regularly: Use manufacturer-recommended cleaning products to avoid damage.
Monitor for unusual noises: Strange sounds can indicate a malfunction. Address any issues promptly to avoid larger problems.
Concluding Thoughts: Elevate Your Basement’s Functionality
Creating a bathroom in your basement doesn’t have to be an overwhelming endeavor. With the right tools, knowledge, and perhaps a bit of professional guidance, you can successfully set up a macerating toilet pump and enjoy the added convenience of a fully functional basement bathroom. Incorporating a restroom in the basement is a fantastic way to increase its usability. Whether you choose to go the DIY route entirely or enlist the services of a skilled plumber, the key is to stay informed, plan meticulously, and not be afraid to seek help when needed.