Laptop stickers are more than just colorful decorations for your beloved device. These small, adhesive artworks have taken the world by storm, offering a canvas to express your individuality, promote your brand, and even protect your laptop from the daily grind. In this guide, we’ll explore the best practices for applying and removing custom laptop stickers, ensuring that your device stays both stylish and functional.
The Benefits of Custom Laptop Stickers
Custom laptop stickers offer numerous benefits that extend beyond mere aesthetics.
Personalization and Expression
Custom laptop stickers allow you to showcase your personality, interests, and passions. Whether you’re a gamer, an artist, a traveler, or an environmentalist, there are stickers out there to reflect your unique identity. They serve as a canvas to express your individuality in a world filled with similar devices.
Branding and Promotion
For businesses and entrepreneurs, custom laptop stickers provide a cost-effective branding opportunity. Placing your logo or brand message on laptops can increase visibility and help build brand recognition. It’s a subtle yet effective marketing strategy that can leave a lasting impression. Partner with VinylStatus to create high-quality custom laptop stickers representing your brand excellently.
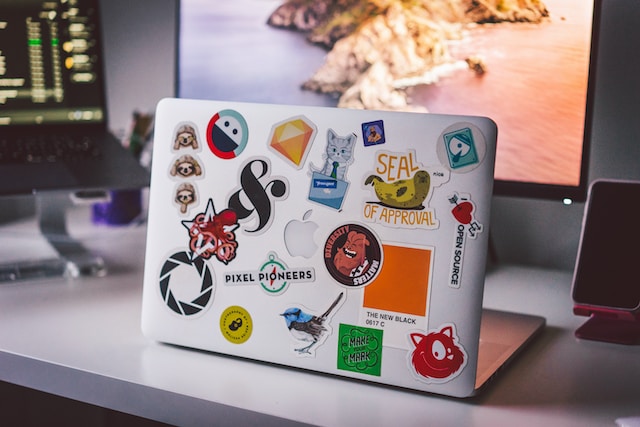
Protection and Style
Aside from adding a personal touch, laptop stickers also provide practical benefits. They can protect your laptop’s surface from scratches and minor damage. Furthermore, they can add a stylistic element to a device that is often purely functional, making it unique and easily recognizable in a group.
Choosing the Right Laptop Stickers
Types of Stickers
Laptop stickers are available in different materials, with vinyl, paper, and matte being the most common. Vinyl stickers are strong and can withstand harsh weather conditions, making them popular. While more affordable, paper stickers may only last for a short time. Matte stickers provide a non-reflective finish, which reduces glare.
Size and Design
Choosing stickers that match your laptop’s size and design is vital. Measure your laptop’s dimensions before purchasing to ensure a perfect fit. Additionally, consider how the stickers’ colors and themes complement your laptop’s overall look.
Personal Style
Your laptop stickers should represent your style and interests. Regardless of whether you prefer minimalism, vibrant colors, or intricate designs, a wide variety of stickers are available to match your taste. Feel free to mix and combine stickers to make a collage that expresses your personal story.
How To Apply Custom Laptop Stickers
Selecting the Right Sticker
Before you start the application process, choosing the right sticker is essential. Consider the following factors:
Material considerations: Opt for stickers made from high-quality materials to ensure durability and longevity.
Size and design: Ensure the sticker’s size and design fit nicely on your laptop without covering essential components like ventilation or ports.
Preparation
A successful sticker application begins with proper preparation:
Cleaning the laptop surface: Start by cleaning your laptop thoroughly. Use a gentle, non-abrasive cleaner to remove dust, fingerprints, and any residue from previous stickers.
Gathering necessary tools: Have a squeegee or credit card, a microfiber cloth, and a ruler handy to help with the application process.
Step-by-Step Application Process
Now, let’s walk through the actual application process:
Proper sticker placement: Carefully position the sticker where you want it on your laptop. Use the ruler to ensure it’s straight and centered.
Smooth and even application: Starting from one end, use the squeegee or credit card to smooth out the sticker, working your way to the other end. This helps eliminate air bubbles and wrinkles.
Avoiding air bubbles and wrinkles: If you notice air bubbles or wrinkles forming, gently lift the sticker and reapply it while using the squeegee to smooth it out.
Post-Application Care
Once your sticker is in place, consider these post-application care tips:
Securing the sticker with clear adhesive: You can apply a clear, transparent adhesive film to add longevity. This protective layer will keep your sticker looking great for longer.
Regular cleaning and maintenance: To keep away dust and dirt buildup around the sticker, regularly clean your laptop’s surface using a microfiber cloth.
How To Remove Custom Laptop Stickers
Knowing When It’s Time to Remove
Stickers can become worn or outdated over time. Here’s when you might want to remove them:
Fading or wear and tear: If your sticker starts to fade or show signs of wear, it might be time for a replacement.
Changing preferences: As your interests or style evolve, you may want to remove stickers that no longer reflect your personality.
Pre-Removal Preparation
Before you start removing a sticker, follow these preparatory steps:
Gather necessary tools: Have a hairdryer, a plastic card, and an adhesive remover (if needed) on hand.
Backup data and files: Ensure all your important data and files are safely backed up to prevent any potential data loss during removal.
Step-by-Step Removal Process
Now, let’s go through the removal process:
Careful peeling and scraping: Begin by gently peeling the sticker from one corner, and if needed, use a plastic card to assist in lifting it. Take your time to prevent any damage to the laptop’s surface.
Use adhesive removers if necessary: Apply a small amount onto a clean cloth and carefully wipe the afflicted region to eliminate any lingering residue. Make sure the adhesive remover is safe for your laptop’s surface.
Avoiding damage to laptop surfaces: Avoid scratching or damaging the laptop’s finish while removing the sticker.
Post-Removal Care
After removing a sticker, follow these steps:
Cleaning residue and adhesive: To eliminate any lingering adhesive or residue, use a microfiber cloth to wipe the area.
Polishing and restoring the laptop’s appearance: Consider using a laptop cleaner or polish to restore the surface’s shine and remove any minor blemishes.
Wrap Up
Now that you’ve unlocked the secrets of applying and removing custom laptop stickers like a pro, it’s time to get creative and make your laptop truly yours. Whether showcasing your passions, boosting your brand, or adding a touch of style, remember that the possibilities are endless.
So, go ahead, explore the vibrant world of laptop stickers, and let your imagination run wild. Whether you’re applying, removing, or replacing them, always remember these best practices to keep your device looking its best. It’s time to transform your laptop into a canvas of self-expression. Get started today and make your laptop uniquely yours!