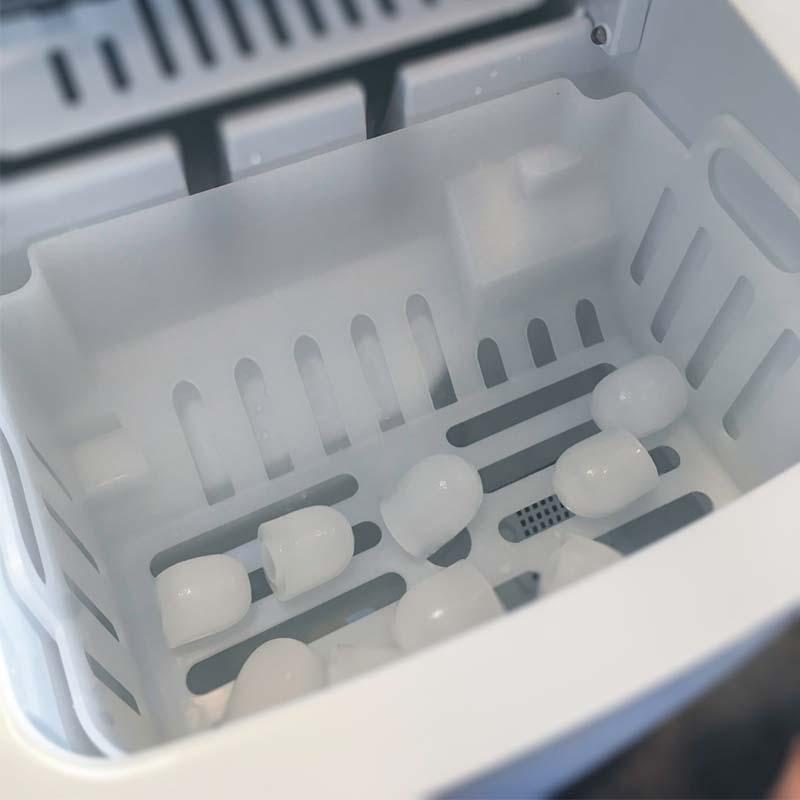
So, you just bought a fantastic new ice maker, and now you want to hook it up to a water source. However, you face a dilemma. Installing a water line feels like a complicated engineering marvel only possible by the most technical people alive.
You ask yourself, how on Earth do I install a water line for my ice maker? You do not need to worry; installing a water line is easy with the right equipment. All you need is a saddle valve, copper tube, and a wrench.
Is Installing A Waterline Difficult?
Though it looks burdensome, you can install a water line to your ice maker in less than an hour. All you need is to follow the steps I will be giving. As your guide, I will break down the job from start to finish in easy processes.
5 steps to install a water line to your ice maker
Step 1: Locate the Closest Water Source
Before installing a water line, locate the water source closest to where you will be placing your ice maker. It will help you know the length of tubing you will buy.
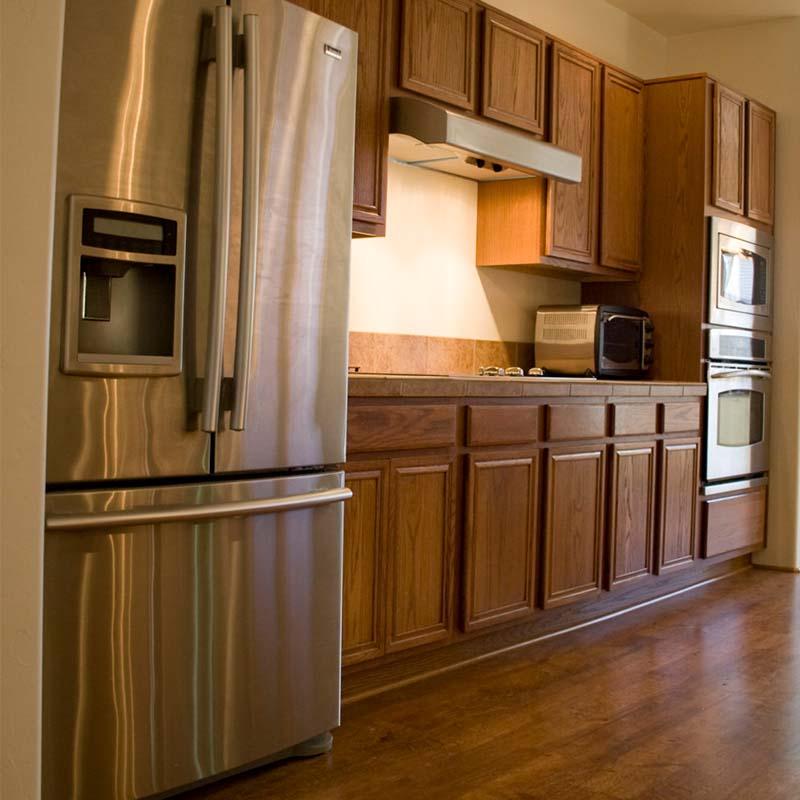
I will advise you to use your kitchen water supply as you most certainly place the ice maker in the kitchen; this will make everything easier. Shut off the kitchen’s water supply by turning off the kitchen water supply valve.
If you cannot find the kitchen supply valve, it is best to turn off the entire house’s water supply. It will ensure no hassles when performing the remaining steps.
Water will remain in the pipes connecting to the kitchen faucet after shutting the valve. You do not need to worry about that, as the next step will ensure we handle the situation with leftover water.
Step 2: Connect Your Saddle Valve to the Cold Water Supply Pipe
Once your water supply is off, you should locate a part of the pipe supplying cold water to your kitchen.
Beneath the area chosen, place a dry towel to stop water from spilling everywhere.
Place your saddle valve around the pipe. A saddle valve is a device that gets fixed unto a water supply pipe.
When you place your valve on the pipe, tighten the screws around it with a flathead screwdriver.
You will then need to drill a hole by turning the handle on top of the saddle valve. Once the hole gets made, the valve handle will feel loose.
Step 3: Connect Your Copper Tube to the Valve
After linking your saddle valve to the cold water pipe, the next thing is to connect a copper tube to your valve. For this, you need a compression nut and a wrench.
Place the compression nut around your valve and place the end of the copper tube into the saddle valve opening. Use your wrench or plier to tighten the compression joint until there is no turning.
Though unnecessary, you can turn on your water supply and the saddle valve to check if the connection is secured.
Step 4: Connect Your Copper Tube to Ice Maker
After connecting the first end of your copper tube to your saddle valve, the next thing to do is link the other end of the copper tube to your ice maker.
Most modern ice makers come with a connector, so you should locate it. It is usually at the back of the ice maker, so it should not be hard finding it.
After locating the connector on your ice maker, place another compression nut around it and insert your copper tube. Tighten the connection with your wrench or plier.
Step 5: Secure Connections and Check for Faults
If you have gotten to this point, you are through with the hard work of connecting your ice maker to a waterline. You will need to ensure there are no leaks.
To check for faults, turn on the main valve supplying water to your kitchen and turn on your saddle valve. Use your wrench or plier to tighten the connection if there is a leakage.
If tiny leaks continue from either end of your connection, you can place Teflon tape around the edges of the compression nuts to stop the leakage.
The Bottom Line
In conclusion, though installing a water line looks hard, you can finish everything in less than an hour. Most ice makers like the ones from Kismile make connecting a water source easy as they have a water inlet pipe for connecting to a water line.
I hope you found this article helpful. If your house has complex piping or electrical wires close to the pipes, you should get a professional plumber to fix everything for you.